Keys
Keys Overview
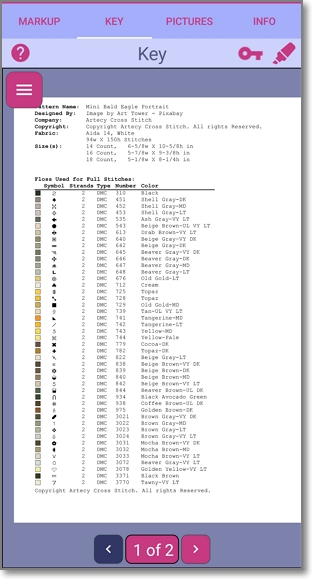
Use the key tab to select areas of your chart which contain keys. This will allow you to quickly refer to these keys as you stitch. The autoloading process will also add one or more keys to this tab if key pages are selected during the autoload process.
Adding Keys
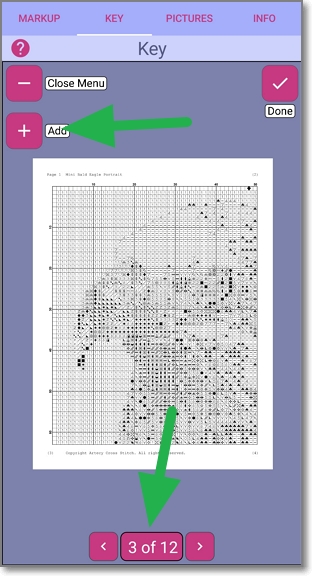
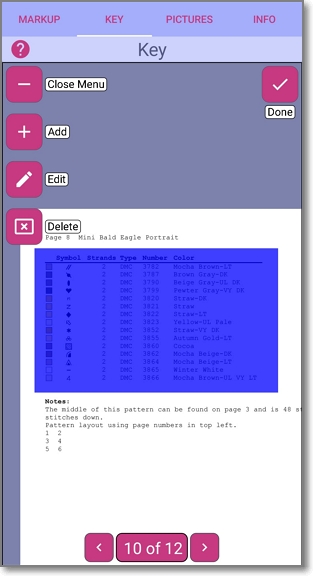
Click the menu button in the top left corner of the screen and choose “+”.
If the key required is not displayed in a multi-page chart, use the selector at the bottom of the screen to navigate to the page(s) containing the key.
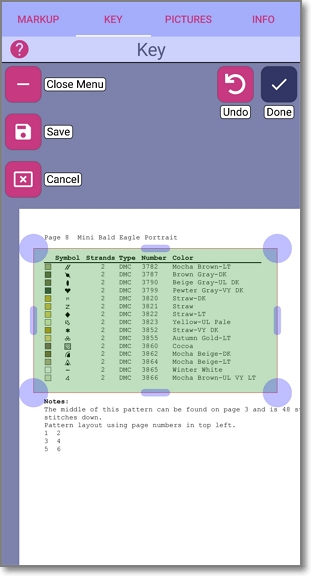
Drag the box around the area containing the key, being as accurate as possible, and then click “Save”.
The saved area will turn blue. Click the “Done” button. Your key has now been saved.
Delete A Key
To delete a key, click the menu button in the top left corner of the screen and choose “Delete”
Display/Hide Symbol List
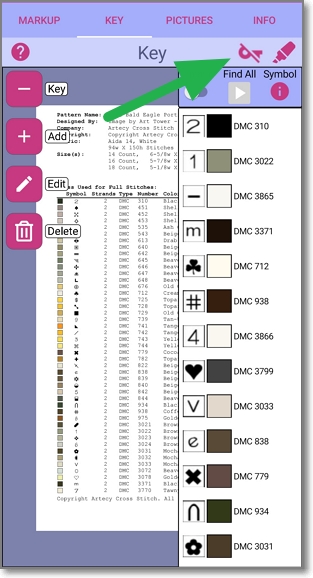
If symbols have been located in your chart, you can click the key icon at the top of the screen to display/hide the symbol list along with any colours which have been assigned.
Manually Assign or Change A Colour To A Symbol
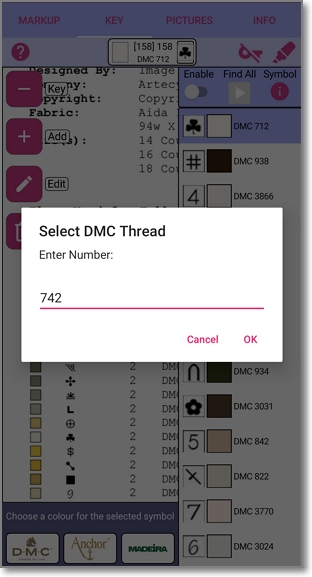
To assign or change the colour associated with a symbol, click on the colour block next to the symbol. You may then enter a DMC colour number for this symbol using the key image as a reference to the colour number required.
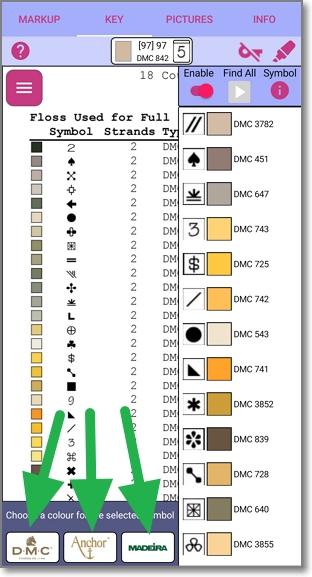
Alternatively, select the symbol row and click one of the three colour manufacturers at the bottom of the screen and enter a colour number.
Automatically Search Key for Colours
To let Markup R-XP search for the symbol colour in the key(s), first click the “Enable” switch at the top of the screen.
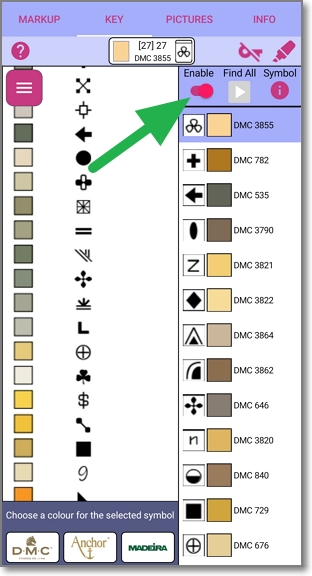
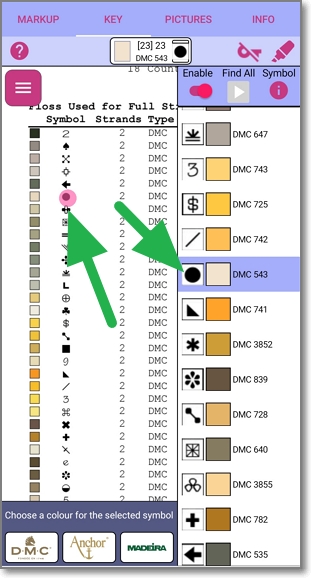
Now click any symbol and Markup R-XP will search for this symbol in the key(s). If the symbol is located, it will be highlighted with a pink circle. You may need to zoom in to see it clearly. The colour for the symbol will also be determined and automatically set for the symbol.
If the symbol isn't found, it may help to disable autofind using the "Enable" switch and then re-enable it again. This will reset the the search parameters and may allow Markup R-XP to successfully locate the symbol and colour.
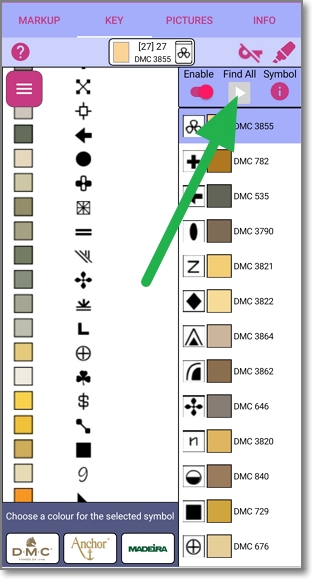
If there are symbols without a colour definition, you can now click the “Find Al” button to similarly locate the colours for all the symbols in the list. The “Find All” button will only be enabled once you have successfully searched for a single symbol as described above.
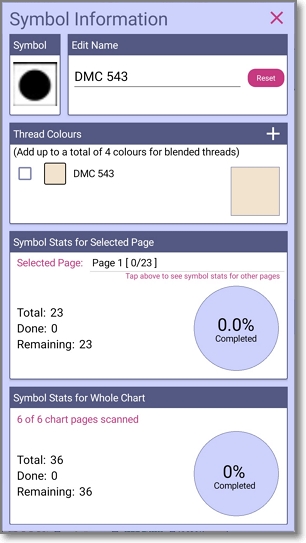
Symbol Information
If you wish to get more information about a particular symbol or enter multiple colours for one symbol, highlight the symbol row and click the “i” button at the top of the screen. The symbol information screen will be displayed.
